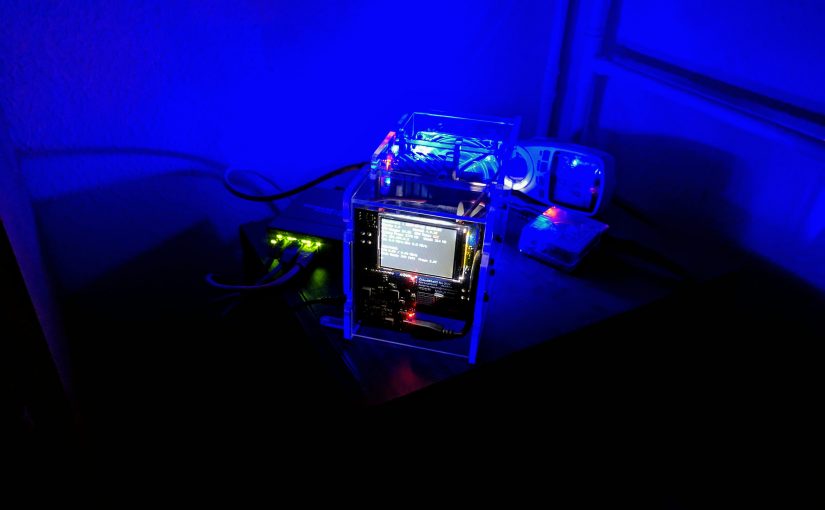
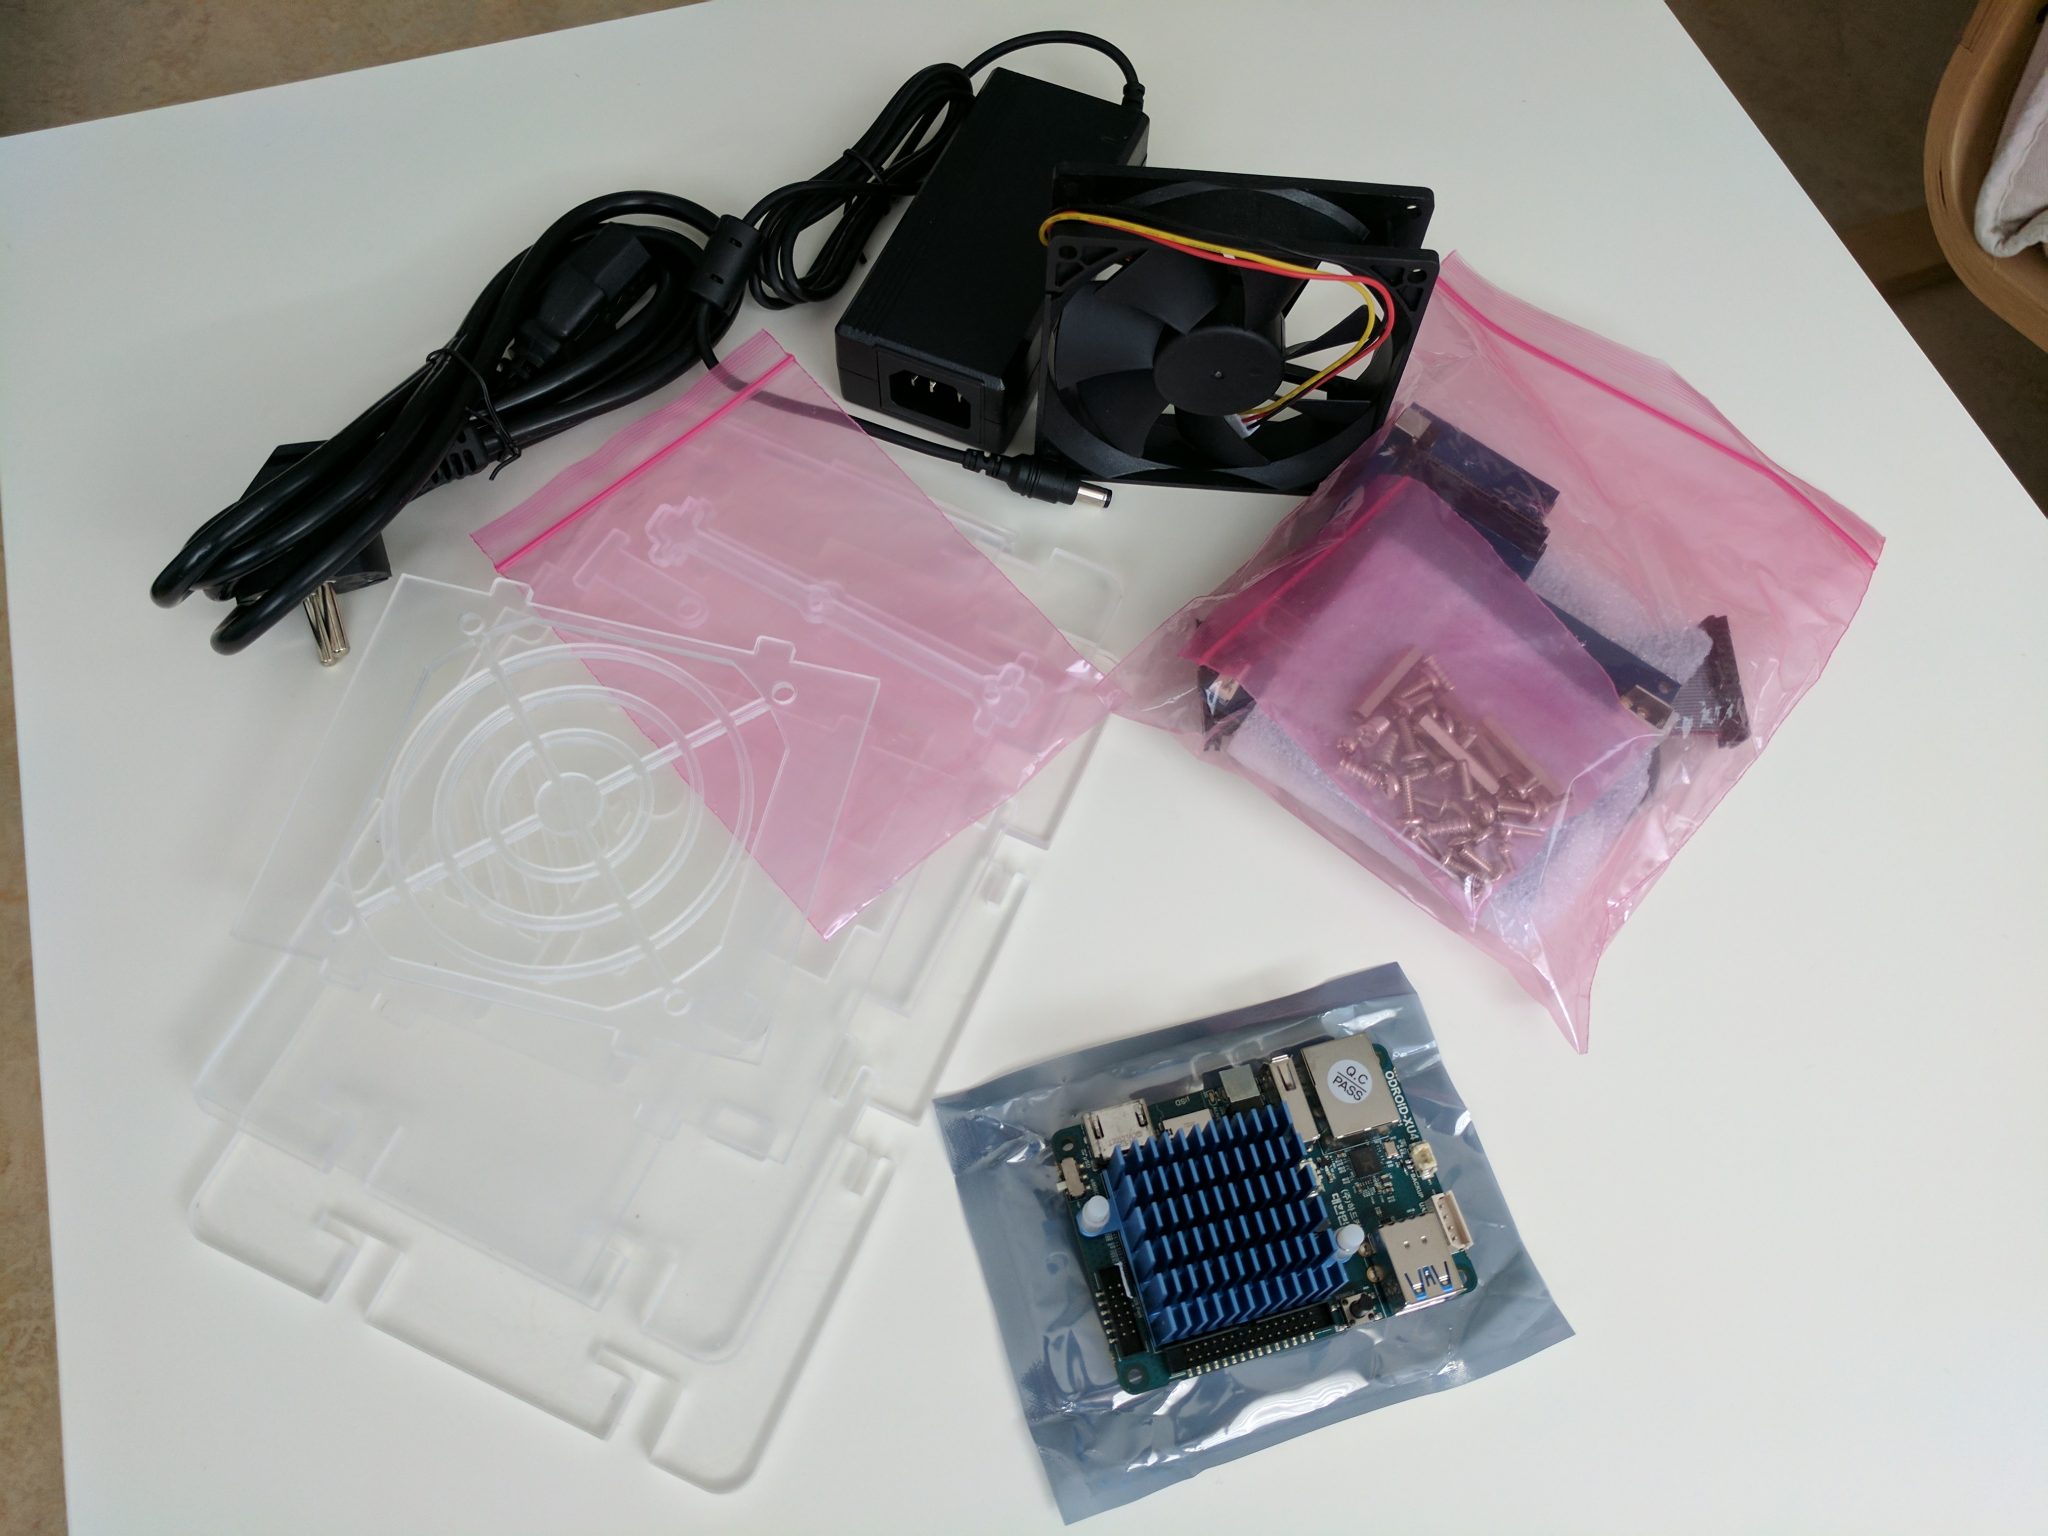
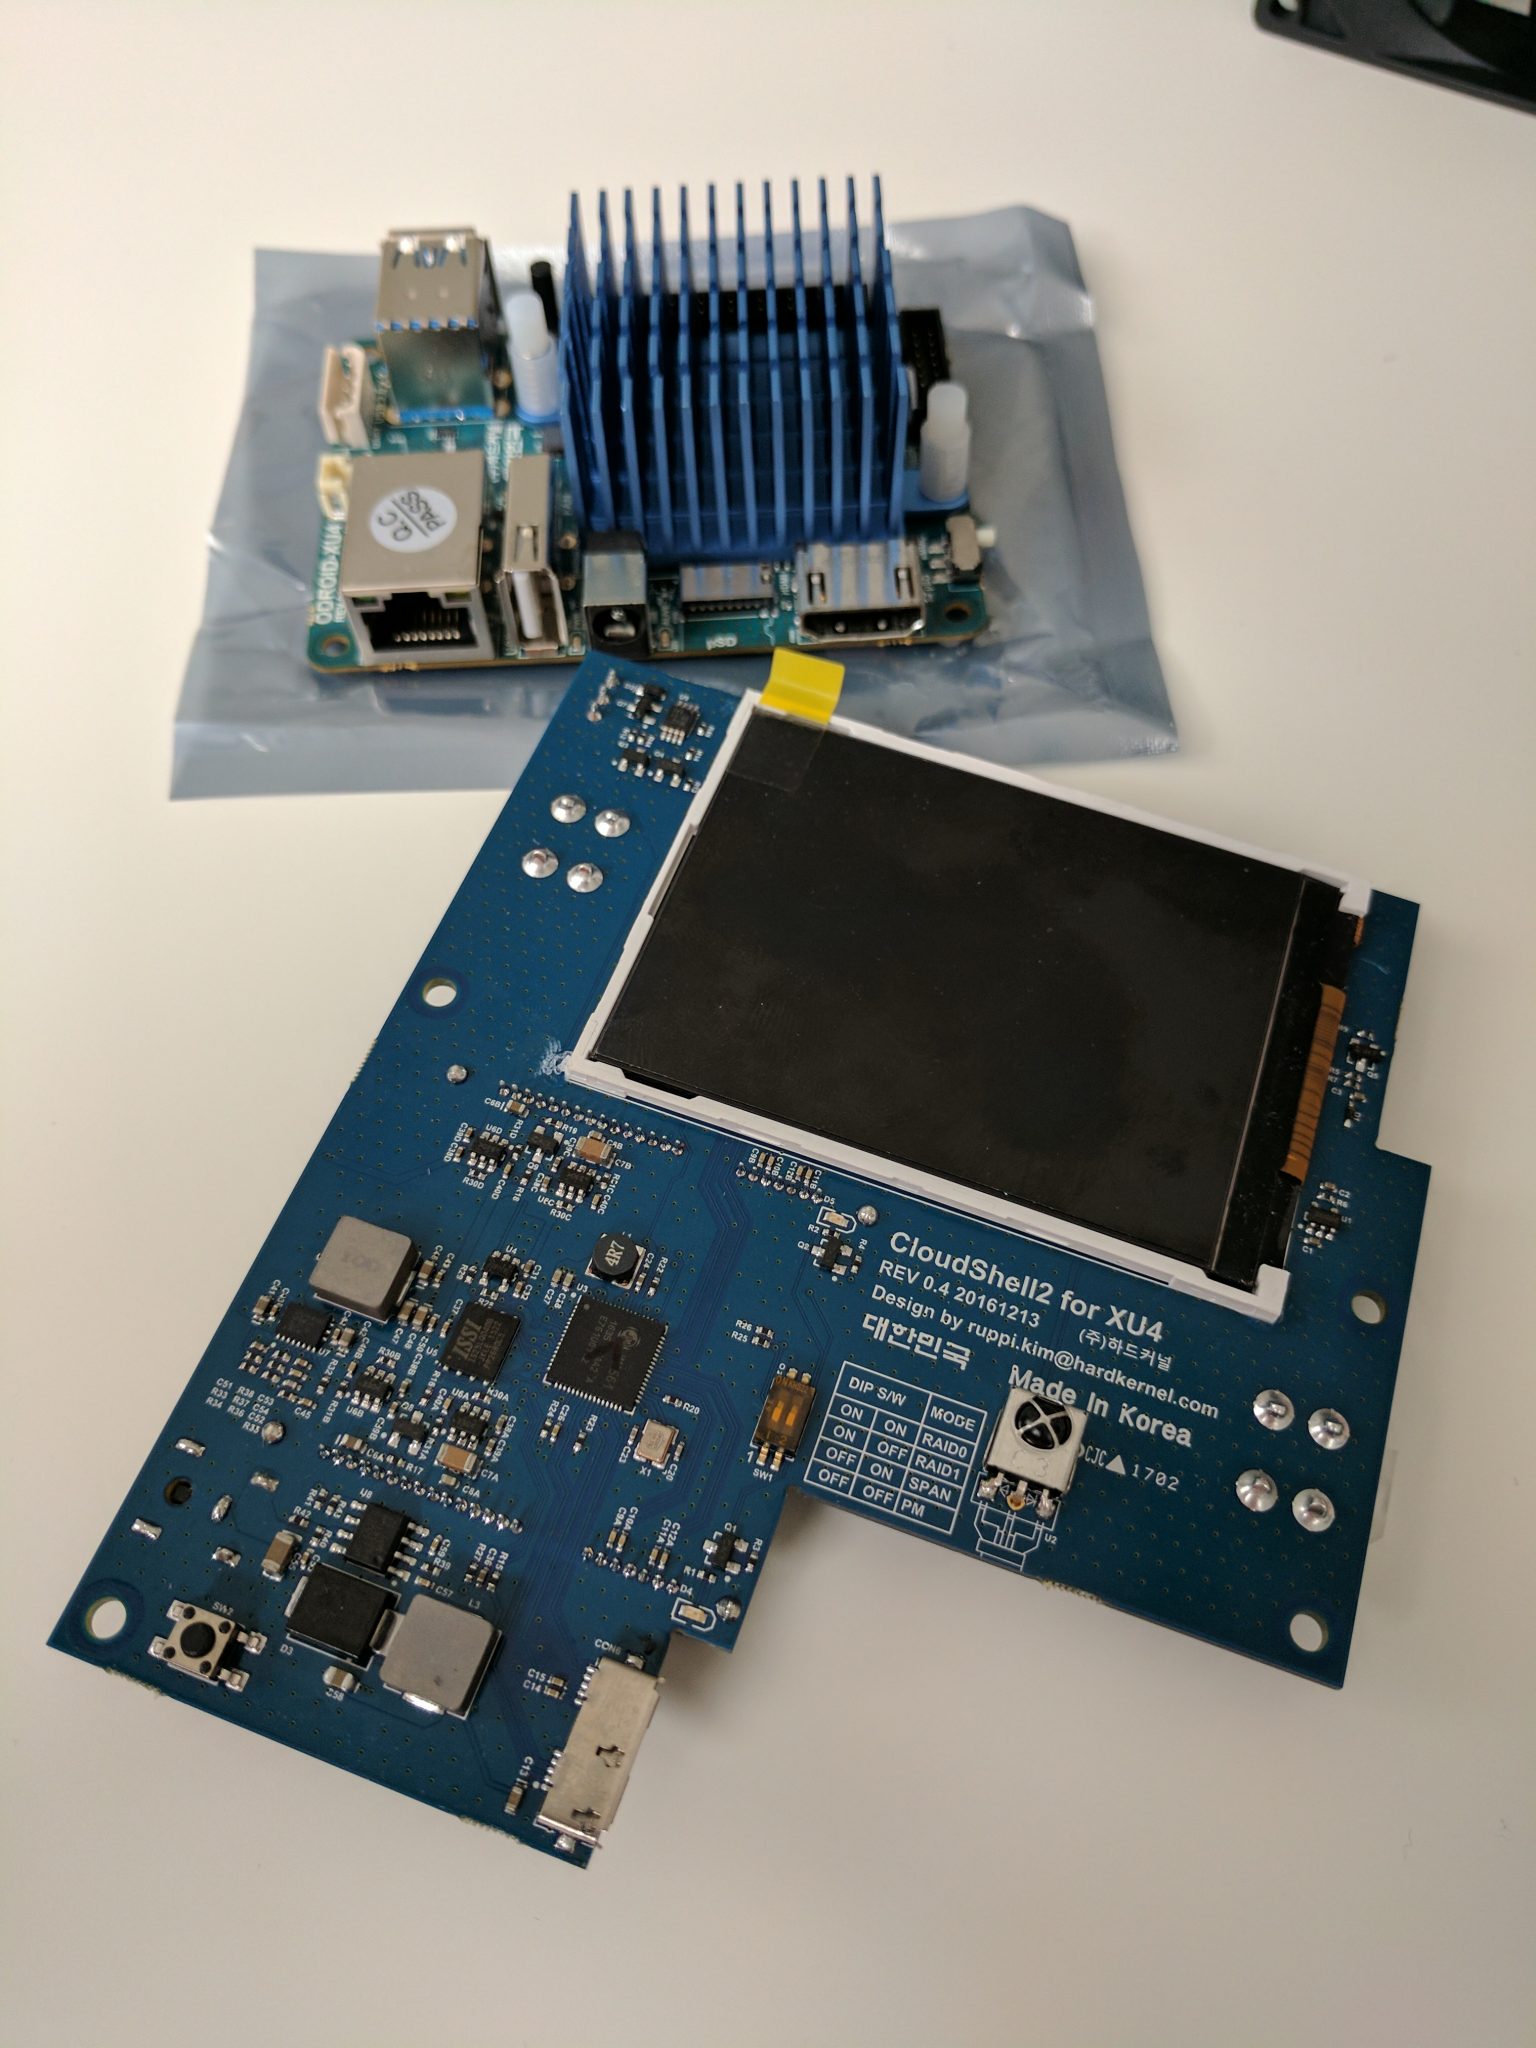
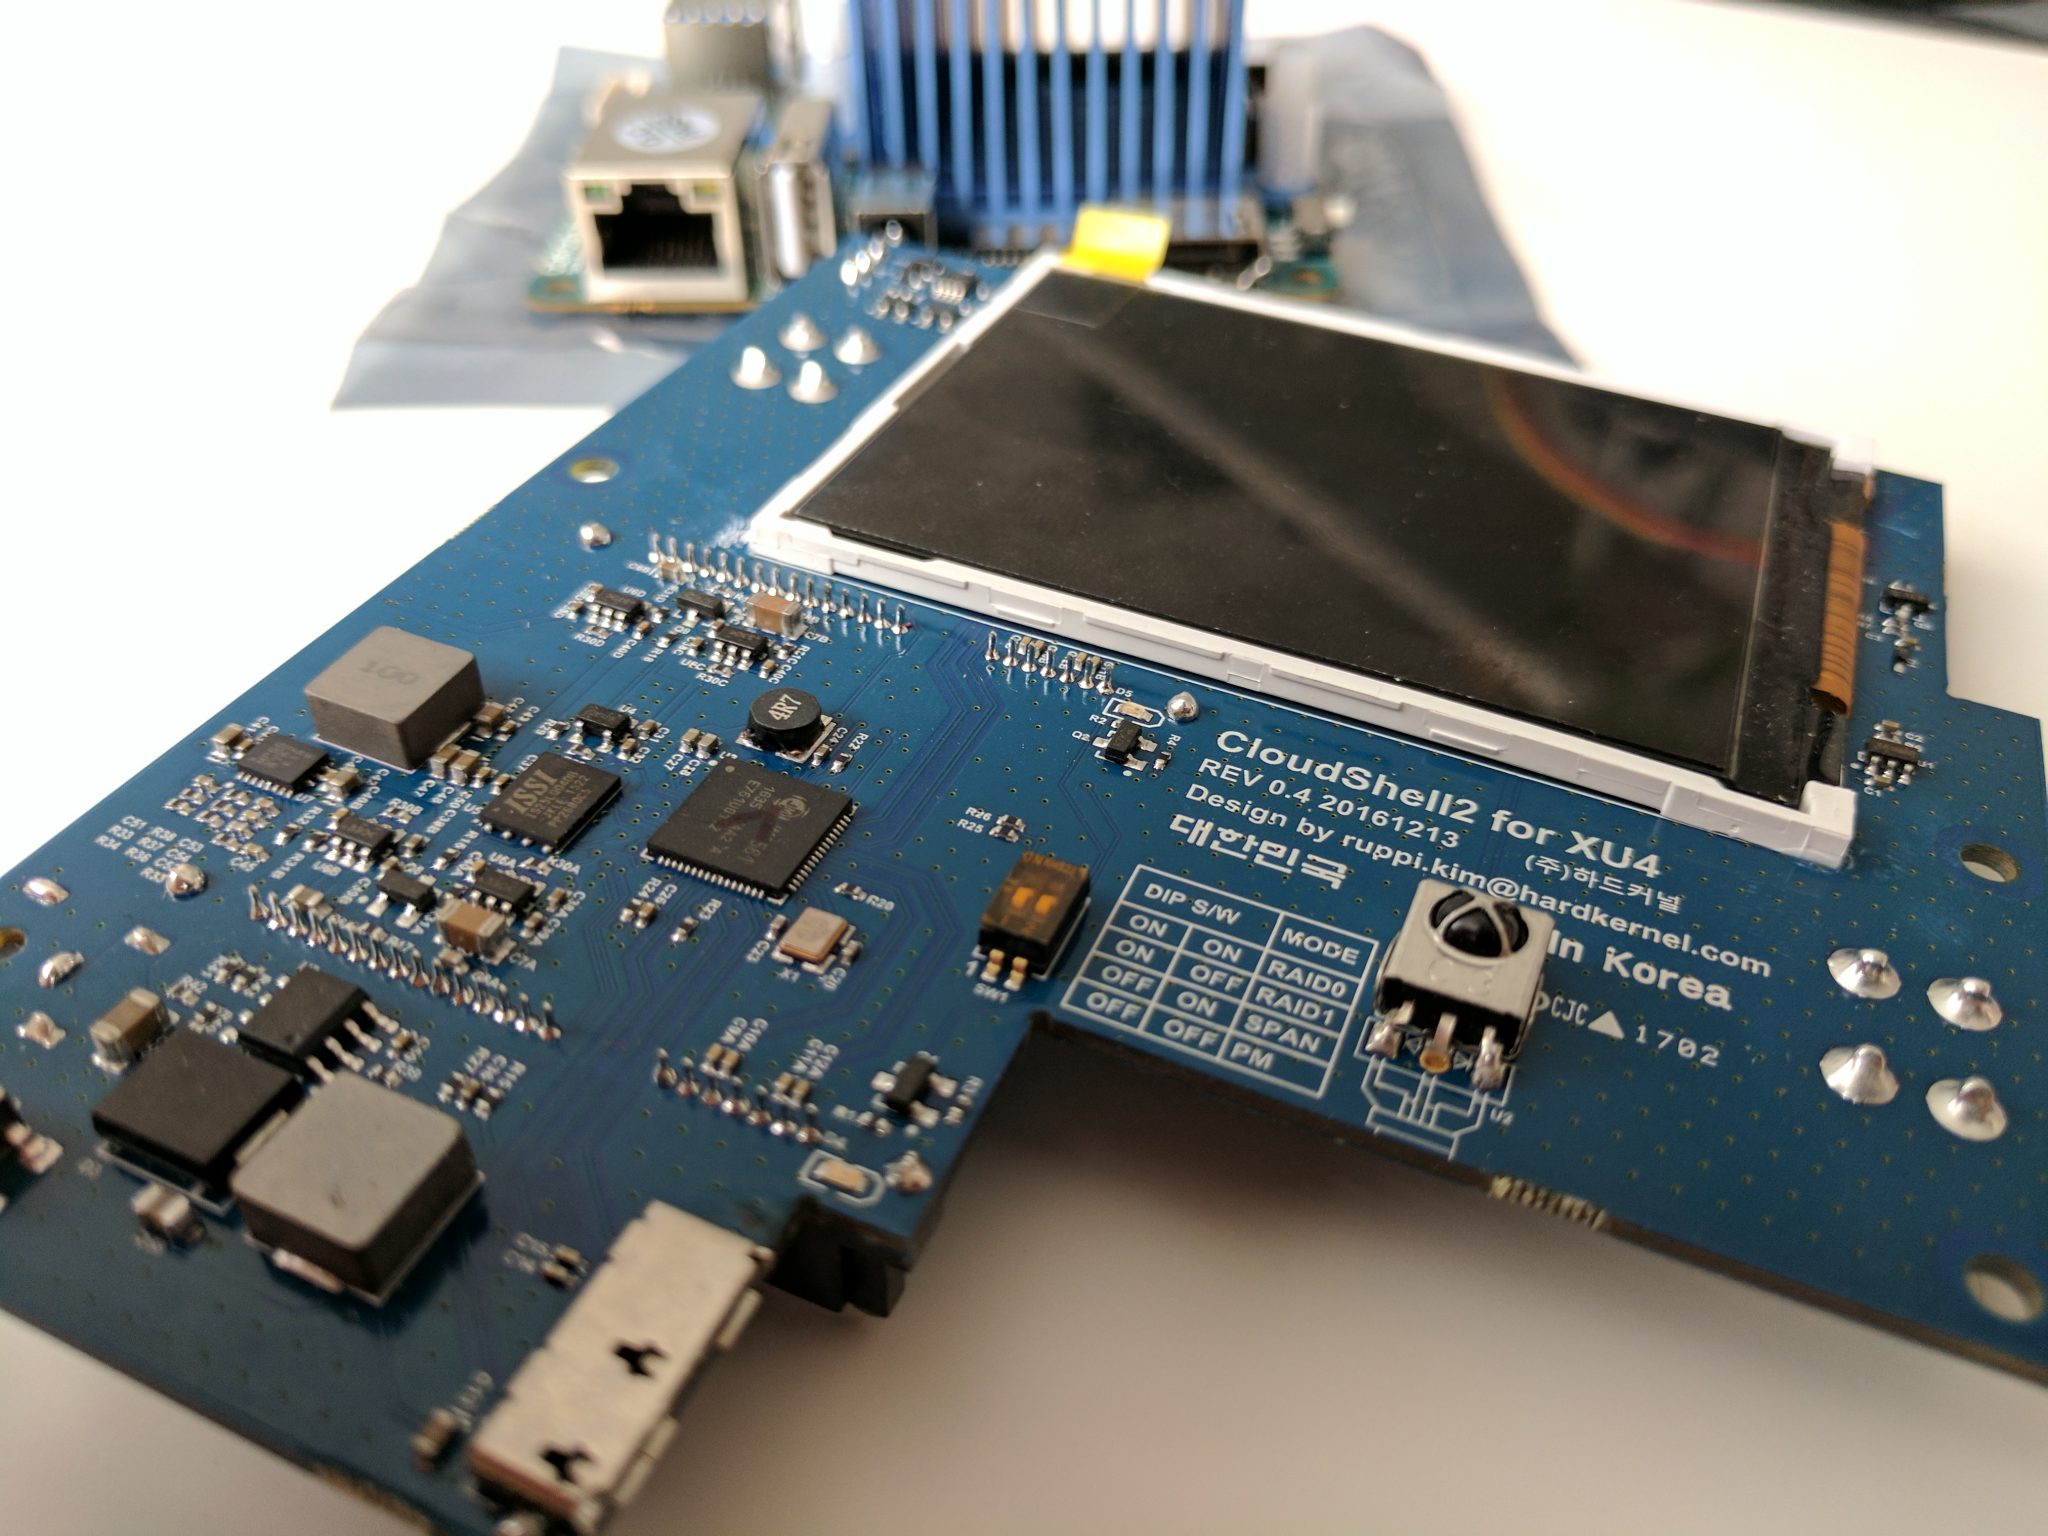
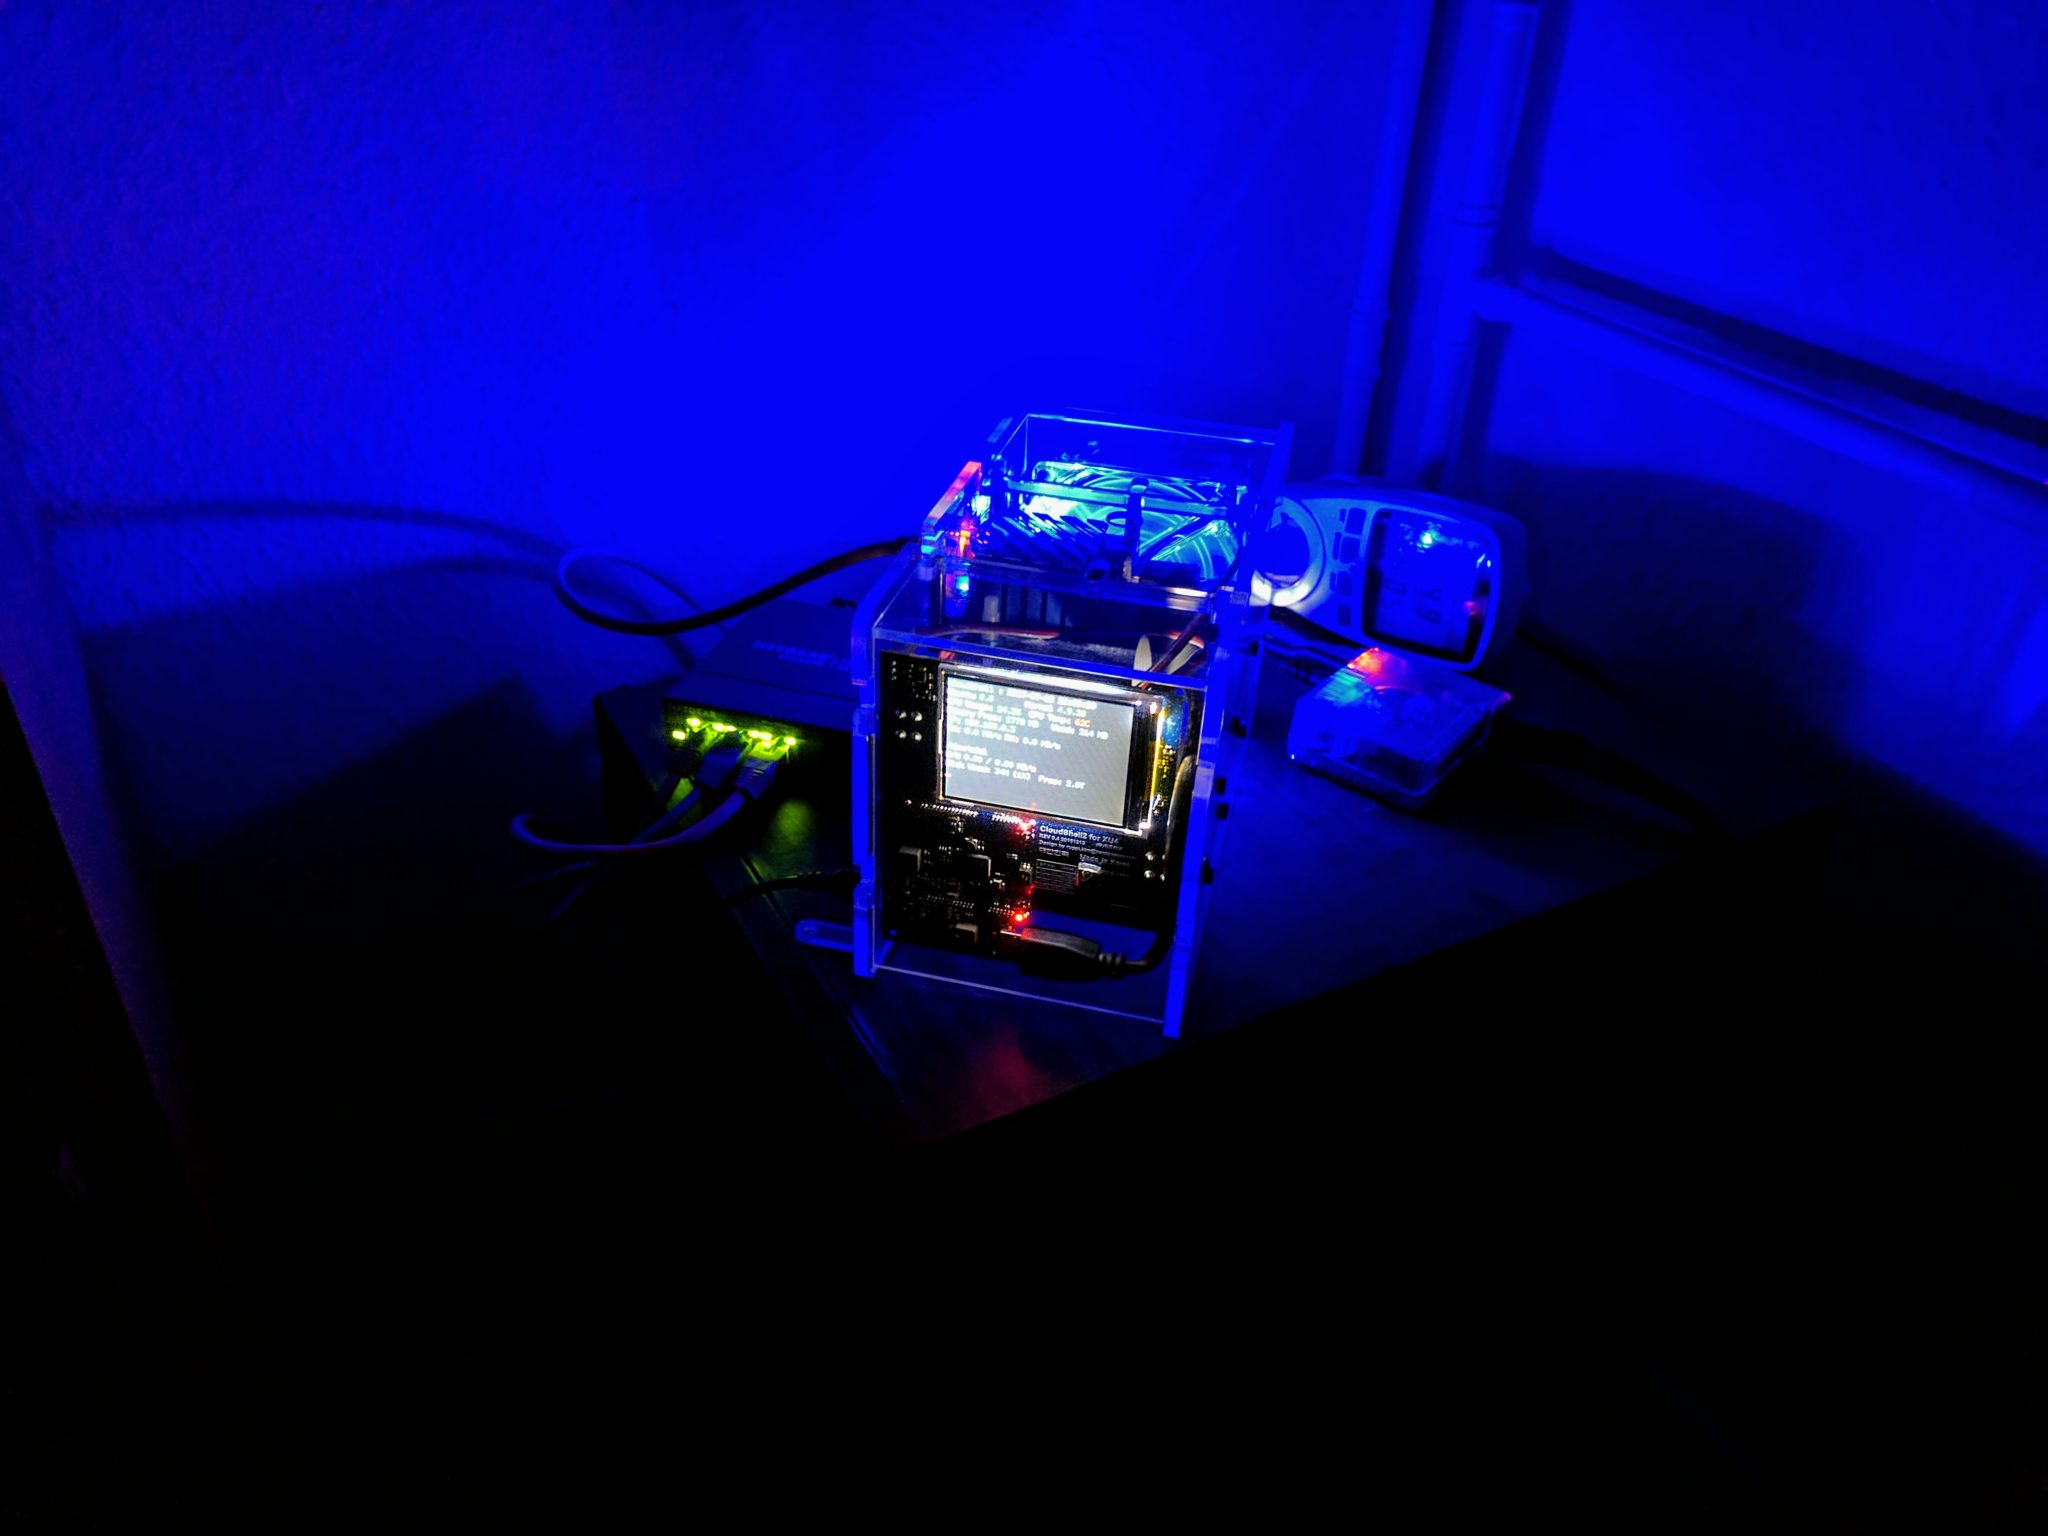
Here are some first impressions of my new ODROID-XU4 CloudShell-2 with a custom blue LED FAN. Some more posts coming soon.


Here are some first impressions of my new ODROID-XU4 CloudShell-2 with a custom blue LED FAN. Some more posts coming soon.
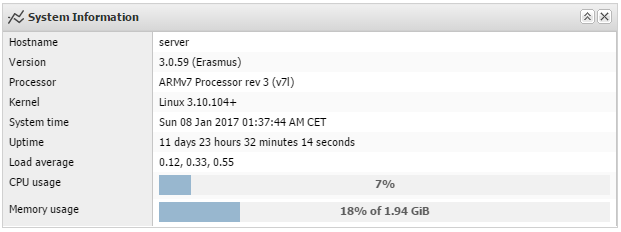
This short tutorial will show you how to upgrade a ODROID-XU4 running OpenMediaVault 2 to OpenMediaVault 3.
OMV 3 (Erasmus) uses Debian 8 (Jessie) instead of 7 (Wheezy). So alongside OMV you will get new packages as well.
boot.ini and /etc/fstab.mkdir /media/boot mount /dev/mmcblk0p1 /media/boot
/media/boot/boot.ini and change ro to rw in the setenv line. The line should look like below:
setenv bootrootfs "console=tty1 console=ttySAC2,115200n8 root=UUID=<YOUR_ROOTFS_UUID> rootwait rw fsck.repair=yes"
/etc/fstab and add the following above the openmediavault volumes:
# UNCONFIGURED FSTAB FOR BASE SYSTEM
UUID=<YOUR_ROOTFS_UUID> / ext4 errors=remount-ro,noatime,nodiratime 0 1
# >>> [openmediavault]
[...]
wget
dpkg -i openmediavault-omvextrasorg_latest_all3.deb
apt-get update
It’s time for another small blog about the ODROID-XU4.
This is just a quick tip to improve your network and USB performance even more. It will optimize your hardware interrupts (IRQ) affinity on your ODROID-XU4.
This guide is for the 3.10.y kernel and debian 8. For other kernel versions the interrupts may have different numbers.
Whenever a piece of hardware, such as disk controller or ethernet card, needs attention from the CPU, it throws an interrupt. The interrupt tells the CPU that something has happened and that the CPU should drop what it’s doing to handle the event. In order to prevent multiple devices from sending the same interrupts, the IRQ system was established where each device in a computer system is assigned its own special IRQ so that its interrupts are unique.Starting with the 2.4 kernel, Linux has gained the ability to assign certain IRQs to specific processors (or groups of processors). This is known as SMP IRQ affinity, and it allows you control how your system will respond to various hardware events. It allows you to restrict or repartition the workload that you server must do so that it can more efficiently do it’s job.
Source
It’s always a good idea to spread your interrupts evenly across all CPUs. In my case I want to achieve the best performance possible. Therefore I want to use the faster A15 CPU cluster for all important interrupt handling.
There are basically 3 different interrupts on a headless ODROID-XU4 server you should take into consideration:
Per default all 3 interrupts for these devices are handled by CPU0, which is a A7 core as you can see in the output below:
lscpu -e
CPU SOCKET CORE ONLINE MAXMHZ    MINMHZ
0   0      0    yes    1400.0000 200.0000
1   0      1    yes    1400.0000 200.0000
2   0      2    yes    1400.0000 200.0000
3   0      3    yes    1400.0000 200.0000
4   1      4    yes    2000.0000 200.0000
5   1      5    yes    2000.0000 200.0000
6   1      6    yes    2000.0000 200.0000
7   1      7    yes    2000.0000 200.0000

grep -E 'CPU0|usb' /proc/interrupts
           CPU0       CPU1       CPU2       CPU3       CPU4       CPU5       CPU6       CPU7
103:          1          0          0          0          0          0          0          0       GIC  ehci_hcd:usb1, ohci_hcd:usb2
104:      12853          0          0          0          0          0          0          0       GIC  xhci-hcd:usb3
105:       7489          0          0          0          0          0          0          0       GIC  xhci-hcd:usb5
First of all make sure that automatic IRQ balancing is disabled:
systemctl disable irqbalance
For debian add the following to your /etc/rc.local file to pin the interrupt handling to A15 cores 4-6 (CPU4-6):
# Move USB and network irqs to A15 CPU cluster
# usb2
echo 6 > /proc/irq/103/smp_affinity_list
# usb3
echo 5 > /proc/irq/104/smp_affinity_list
# network (usb3)
echo 4 > /proc/irq/105/smp_affinity_list
After a reboot and some file transfer you should see something like this:
grep -E 'CPU0|usb' /proc/interrupts
           CPU0       CPU1       CPU2       CPU3       CPU4       CPU5       CPU6       CPU7
103:          1          0          0          0          0          0          0          0       GIC  ehci_hcd:usb1, ohci_hcd:usb2
104:       8355          0          0          0          0     249689          0          0       GIC  xhci-hcd:usb3
105:        436          0          0          0    4396187          0          0          0       GIC  xhci-hcd:usb5
Note the numbers for CPU4 and CPU5. CPU0 handled some initial interrupts during the boot, because rc.local isn’t executed immediately.
Tuning without measuring performance before and afterwards is useless. So, here are some iperf results:
# without irq tuning
iperf -c 192.168.0.2 -i 2 -r
------------------------------------------------------------
Server listening on TCP port 5001
TCP window size: 85.3 KByte (default)
------------------------------------------------------------
------------------------------------------------------------
Client connecting to 192.168.0.2, TCP port 5001
TCP window size: 272 KByte (default)
------------------------------------------------------------
[ 5] local 192.168.0.121 port 57696 connected with 192.168.0.2 port 5001
[ ID] Interval Transfer Bandwidth
[ 5] 0.0- 2.0 sec 198 MBytes 830 Mbits/sec
[ 5] 2.0- 4.0 sec 198 MBytes 830 Mbits/sec
[ 5] 4.0- 6.0 sec 201 MBytes 842 Mbits/sec
[ 5] 6.0- 8.0 sec 199 MBytes 835 Mbits/sec
[ 5] 8.0-10.0 sec 199 MBytes 835 Mbits/sec
[ 5] 0.0-10.0 sec 995 MBytes 834 Mbits/sec
[ 4] local 192.168.0.121 port 5001 connected with 192.168.0.2 port 41073
[ 4] 0.0- 2.0 sec 206 MBytes 865 Mbits/sec
[ 4] 2.0- 4.0 sec 207 MBytes 870 Mbits/sec
[ 4] 4.0- 6.0 sec 210 MBytes 881 Mbits/sec
[ 4] 6.0- 8.0 sec 211 MBytes 883 Mbits/sec
[ 4] 8.0-10.0 sec 210 MBytes 882 Mbits/sec
[ 4] 0.0-10.0 sec 1.02 GBytes 876 Mbits/sec


# with irq tuning
iperf -c 192.168.0.2 -i 2 -r
------------------------------------------------------------
Server listening on TCP port 5001
TCP window size: 85.3 KByte (default)
------------------------------------------------------------
------------------------------------------------------------
Client connecting to 192.168.0.2, TCP port 5001
TCP window size: 289 KByte (default)
------------------------------------------------------------
[ 5] local 192.168.0.121 port 57702 connected with 192.168.0.2 port 5001
[ ID] Interval Transfer Bandwidth
[ 5] 0.0- 2.0 sec 224 MBytes 941 Mbits/sec
[ 5] 2.0- 4.0 sec 223 MBytes 936 Mbits/sec
[ 5] 4.0- 6.0 sec 223 MBytes 935 Mbits/sec
[ 5] 6.0- 8.0 sec 223 MBytes 937 Mbits/sec
[ 5] 8.0-10.0 sec 223 MBytes 934 Mbits/sec
[ 5] 0.0-10.0 sec 1.09 GBytes 936 Mbits/sec
[ 4] local 192.168.0.121 port 5001 connected with 192.168.0.2 port 41076
[ 4] 0.0- 2.0 sec 219 MBytes 920 Mbits/sec
[ 4] 2.0- 4.0 sec 220 MBytes 924 Mbits/sec
[ 4] 4.0- 6.0 sec 220 MBytes 924 Mbits/sec
[ 4] 6.0- 8.0 sec 220 MBytes 924 Mbits/sec
[ 4] 8.0-10.0 sec 220 MBytes 924 Mbits/sec
[ 4] 0.0-10.0 sec 1.08 GBytes 923 Mbits/sec
Up to 100 Mbit/s faster. Not bad for such an easy fix 🙂
Read my post in the ODROID forum to get some more information and tuning tips.
I just moved the site to my VPS and enabled HTTPS for everything. Furthermore I upgraded to PHP7 and HTTP/2.
On top of that I fixed a few things here and there so the site should load much faster.
If you encounter any problems, please let me know in the comments below.
Have fun!
Per default the Mali-T628 GPU inside the ODROID-XU4 will run at maximum speed (600MHz) the whole time.
This doesn’t consume that much energy if there is no load on the GPU. But nevertheless you can tune this a little bit if you don’t need the GPU at all.
Your kernel needs the following commit: mali: restore sysfs entries
Newer 3.10 ODROID-XU4 kernels should have this activated. I tested this with my own custom build kernel. You can grab it here. Source.
To flash this kernel you can use a script like this one.
To lock the GPU frequency to the lowest frequency possible (177MHz) do the following. This will automatically lower the voltage as well (see cat /sys/devices/11800000.mali/vol before and after the change).
apt-get install sysfsutils
vi /etc/sysfs.conf

---
# lower mali gpu clock to min (Kernel 3.10)
devices/11800000.mali/dvfs_max_lock = 177

# UPDATE: for Kernel 4.9 do the following
devices/platform/11800000.mali\:/devfreq/11800000.mali\:/governor = powersave

# UPDATE2: for Kernel 4.14 do the following
devices/platform/11800000.mali/devfreq/devfreq0/governor = powersave
---

service sysfsutils start